WordPress is a leading Content Management System (CMS) that powers nearly 42% of all websites. Its user-friendly interface, extensive plugin ecosystem, and customizable themes make it a popular choice among website owners and developers alike.
Addressing common WordPress errors and issues is vital for maintaining website functionality and performance. Unresolved problems can lead to poor user experience, decreased traffic, and potential security vulnerabilities. Ensuring your site runs smoothly not only keeps visitors happy but also boosts your site’s credibility.
To mitigate these risks, there are two important practices that every website owner should prioritize: regularly backing up your website and keeping your WordPress installation updated.
Key Takeaway: In this guide, we’ll explore the most common WordPress errors and issues that website owners face. By understanding the causes and effects, we will provide step-by-step solutions to fix them. By the end, you’ll be equipped with the knowledge to troubleshoot and resolve any problem that comes your way.
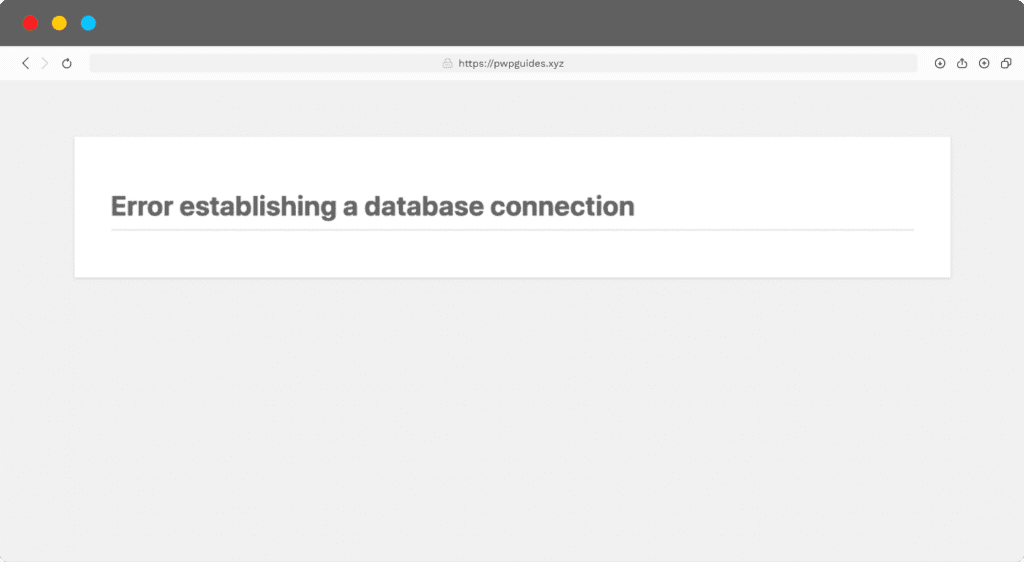
Error Establishing Database Connection
Encountering the “Error Establishing Database Connection” message on your WordPress site can be alarming. This error indicates a failure to connect to the WordPress database, preventing your website from retrieving or storing data. Understanding and addressing this issue promptly is crucial for maintaining the functionality of your site.
Common Causes
Several factors can trigger this error:
- Incorrect Database Credentials: The most common cause is incorrect database login details in the
wp-config.phpfile. - Corrupted Files: Sometimes, corrupted database files lead to connection failures.
- Database Server Issues: Problems with the server hosting the database can also result in connection errors.
Step-by-Step Solutions
Step 1: Checking Database Login Credentials in wp-config.php File
The first step to resolving this error involves verifying the database credentials stored in your wp-config.php file. Follow these steps:
- Access your website’s root directory using an FTP client or via cPanel’s File Manager.
- Locate and open the
wp-config.phpfile. - Verify that the following lines contain the correct information:
php define('DB_NAME', 'your_database_name'); define('DB_USER', 'your_database_username'); define('DB_PASSWORD', 'your_database_password'); define('DB_HOST', 'localhost'); // This might be different depending on your hosting provider - Correct any discrepancies and save the file.
Step 2: Repairing Corrupted Database Tables Using phpMyAdmin
If verifying credentials does not resolve the issue, corrupted database tables might be the culprit. Use phpMyAdmin to repair them:
- Log in to your web hosting account and navigate to phpMyAdmin.
- Select your WordPress database from the list on the left sidebar.
- Check all tables by clicking “Check All” at the bottom of the page.
- From the dropdown menu, select “Repair Table.”
This process will attempt to fix any corruption within your database tables.
Step 3: Optimizing WordPress Database for Improved Performance
Optimizing your WordPress database can prevent future occurrences of this error and enhance overall performance:
- Install and activate a database optimization plugin like WP-Optimize or WP-Sweep.
- Navigate to the plugin settings from your WordPress dashboard.
- Run a complete optimization process, which typically includes cleaning up unnecessary data and optimizing tables for better performance.
Keeping your database well-maintained can help avoid potential connection issues related to performance degradation.
These steps should help you address and fix the “Error Establishing Database Connection” issue effectively, ensuring that your website remains accessible and functional for visitors.
White Screen of Death (WSOD)
Encountering the White Screen of Death (WSOD) can be incredibly frustrating. This issue presents itself as a blank white screen when trying to access either the front-end or back-end of your WordPress site. Users are left without any error messages or clues about what has gone wrong, making it a particularly perplexing problem.
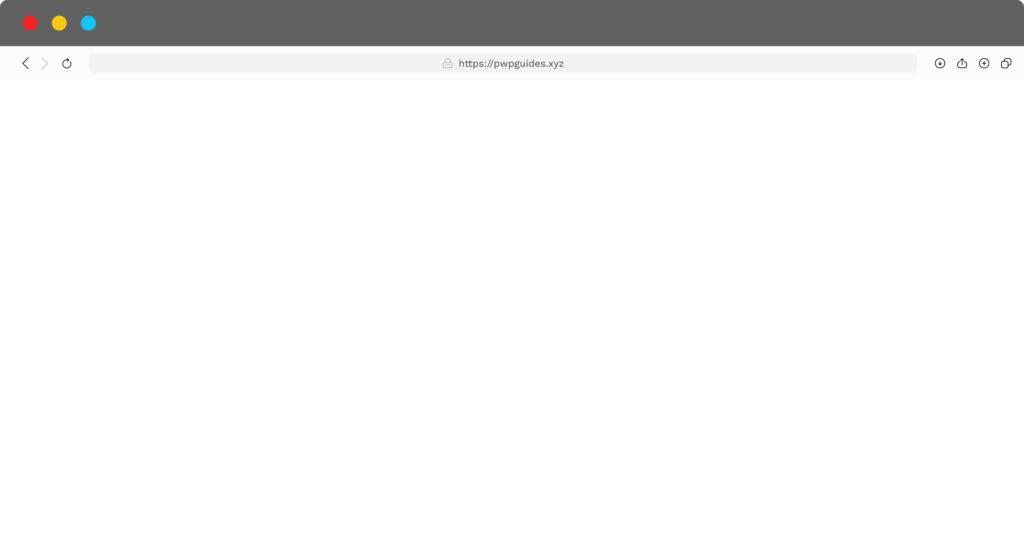
Symptoms and Appearance
- Front-End: Visitors see nothing but a blank white screen when accessing your website.
- Back-End: Administrators experience the same blank screen when attempting to log into the WordPress dashboard.
Common Causes
Several factors could trigger the WSOD:
- Plugin Conflicts: Incompatible or faulty plugins can disrupt the website’s functionality.
- Theme Issues: Problems within the active theme can also cause this error.
- PHP Memory Limits: If the PHP memory limit is exceeded, it can lead to a WSOD.
Steps to Fix White Screen of Death
Step 1: Investigating Plugins as the Potential Cause
Plugins are often the culprits behind WSOD. To determine if a plugin is causing issues:
- Access Your Website Files via FTP: Use an FTP client like FileZilla.
- Navigate to /wp-content/plugins/: Rename your plugins folder to something like
plugins_old. - Check Your Site: If it loads correctly now, a plugin is likely at fault.
Step 2: Temporary Fix – Disabling All Plugins
If renaming the plugins folder resolves the issue:
- Restore Original Folder Name: Rename it back to plugins.
- Disable Plugins Individually: Access your WordPress dashboard and deactivate plugins one by one to identify which plugin is causing issues.
Step 3: Permanent Fix – Identifying the Problematic Plugin and Updating/Removing It
Once you’ve isolated the problematic plugin:
- Update It: Ensure it’s updated to its latest version.
- Remove It: If updating doesn’t help, consider removing it and finding an alternative.
Step 4: Ensuring Theme Compatibility
Themes can also be problematic:
- Switch Themes Temporarily: Switch to a default WordPress theme such as Twenty Twenty-One.
- Check Compatibility: If switching resolves WSOD, contact the theme developer for support or consider using a different theme.
Step 5: Increasing PHP Memory Limit
Sometimes increasing PHP memory can resolve WSOD:
- Edit wp-config.php File: php define(‘WP_MEMORY_LIMIT’, ‘256M’);
- Verify Changes: Save the file and upload it back to your server via FTP.
Understanding these steps ensures that you can quickly address and resolve White Screen of Death errors, maintaining optimal website performance and user experience.
For more detailed instructions on how to fix the ‘White Screen of Death’ in WordPress, including additional troubleshooting tips, you can refer to this comprehensive step-by-step guide from PrettyWP Blog.
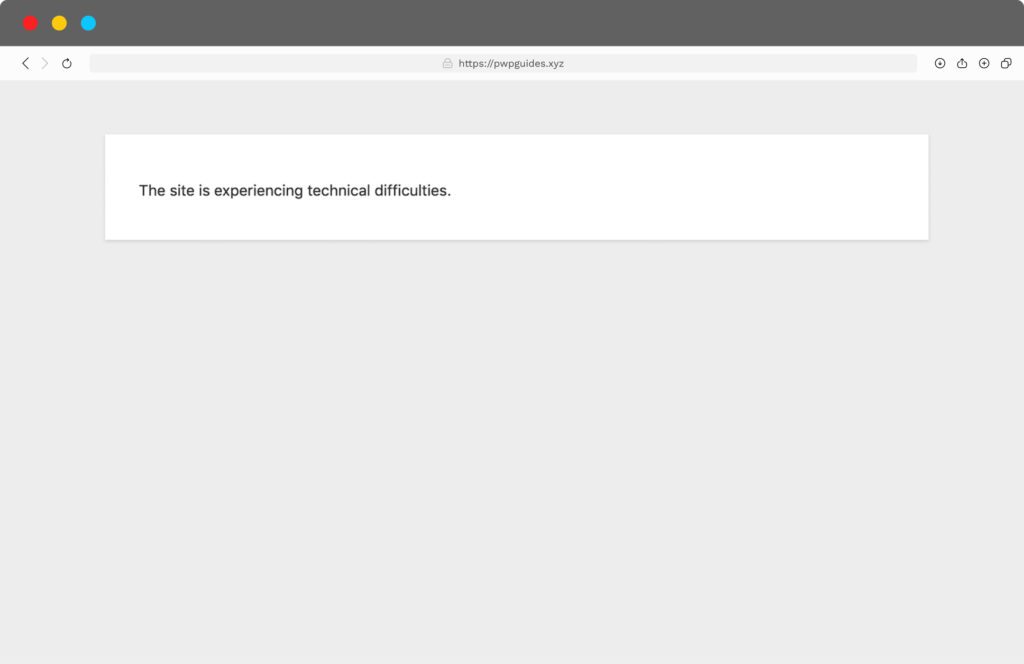
This Site is Experiencing Technical Difficulties
Encountering the error message “This Site is Experiencing Technical Difficulties” means there’s a problem with your WordPress site’s functionality. You’ll usually receive an email notification with more information about the issue and potential solutions.
Common Causes of This Error
The “This Site is Experiencing Technical Difficulties” message can be caused by several things:
- Conflicting Plugins: Incompatible or poorly coded plugins can create conflicts that disrupt your site’s operations. Even a single plugin update can cause issues when it doesn’t work well with others.
- Theme Errors: Similar to plugins, themes can also cause conflicts. An outdated or incompatible theme may introduce errors that affect your website’s performance.
- Database Corruption: Problems within the database, such as corrupted tables or incorrect settings, can lead to technical difficulties that prevent your site from working correctly.
Troubleshooting Steps
To fix the “This Site is Experiencing Technical Difficulties” error, follow these steps:
- Check Email Notification Details: The email sent to the site administrator often contains important information about what caused the error. Read it carefully for any specific plugin or theme mentioned as problematic.
- Deactivate All Plugins: Go to your WordPress admin dashboard and click on Plugins in the menu. Deactivate all plugins to check if a plugin conflict is causing the issue. If your site becomes accessible after deactivating plugins, reactivate them one by one to find the conflicting plugin.
- Switch to a Default Theme: Change your theme to a default WordPress theme (e.g., Twenty Twenty-One) through Appearance > Themes. This helps determine if your current theme is causing the technical difficulties. If switching themes solves the problem, consider updating or replacing your original theme.
- Repair Database: Use phpMyAdmin from your hosting control panel to check and repair database tables. Go to phpMyAdmin, select your database, and use the Repair Table option for any tables showing errors.
- Increase PHP Memory Limit: Low PHP memory limits can cause various site errors. Increase this limit by editing the
wp-config.phpfile:php define('WP_MEMORY_LIMIT', '256M');And that’s it, now save changes and refresh your website to see if the issue persists.
- Review Error Logs: Check your hosting account’s error logs for additional clues on what’s causing the problem. Look for recurring errors or warnings that might indicate a specific issue needing attention.
By following these steps, you can quickly identify and resolve issues causing “This Site is Experiencing Technical Difficulties.” Regularly updating themes and plugins while maintaining a healthy database will also help prevent future occurrences.
Internal Server Error
Internal Server Error is one of the most common yet perplexing issues encountered by WordPress users. This generic server-side error does not provide specific details about the underlying problem, making it a challenge to diagnose and resolve.

Common Causes of Internal Server Error
Several factors can trigger an Internal Server Error:
- Corrupted Files: Damaged core files, .htaccess file, or other essential files.
- Inadequate Memory Allocation: Insufficient PHP memory limits set by your server.
- Incompatible Plugins/Themes: Conflicting or outdated plugins and themes.
Step-by-Step Solutions
Step 1: Refreshing the Page or Clearing Browser Cache
Sometimes, a simple refresh can resolve the issue. If that doesn’t work:
- Clear your browser cache.
- Try accessing your site on another browser.
Step 2: Deactivating All Plugins and Switching to a Default Theme
Plugins and themes are often the culprits behind this error. To identify if they are causing the problem:
- Deactivate All Plugins: Navigate to Plugins in your WordPress dashboard. Select all plugins and choose “Deactivate” from the bulk actions dropdown.
- Switch to a Default Theme: Go to Appearance > Themes. Activate a default theme like Twenty Twenty-One.
Check if your site loads properly after these steps.
Step 3: Checking for Corrupt Files or Directories
Corrupt files can impede your site’s functionality. To check for corruption:
- Access Your Site via FTP or Hosting: Use an FTP client like FileZilla to connect to your server or use your hosting file manager to access the files.
- Rename .htaccess File: Navigate to your WordPress root directory. Rename
.htaccessto.htaccess_old. - Re-upload Core Files: Download a fresh copy of WordPress from wordpress.org. Re-upload the core files (excluding
wp-content) via FTP.
Step 4: Contacting Web Hosting Provider for Assistance
If none of the above solutions work, it may be time to reach out to your web hosting provider:
- Provide them with details about the error.
- Ask them to check server logs for any anomalies.
- Request assistance with increasing PHP memory limits if necessary.
For preventative measures, consider setting up automated backups using tools like UpdraftPlus. This beginner’s guide on Setting Up Automated Backups with UpdraftPlus can help you protect your website’s data in case accidents happen.
By following these steps, you should be able to diagnose and resolve most instances of Internal Server Error on your WordPress site.
Changes to the Website Do Not Appear
Changes to the Website Do Not Appear is an issue frequently encountered by WordPress users. This problem occurs when updated content or design changes are not visible on the live site, despite being saved and published in the WordPress dashboard. The primary culprit behind this issue is caching mechanisms.
Common Causes of Caching Issues in WordPress
WordPress relies on caching to improve website performance by storing copies of pages and resources. However, misconfigured cache settings can lead to outdated content being displayed. Here are some common causes:
- Misconfigured Cache Plugins: Plugins like WP Rocket, W3 Total Cache, LiteSpeed Cache or WP Super Cache may not be set up correctly, causing them to serve old versions of pages.
- Server-Level Caching Systems: Hosting providers often implement server-level caching that might not automatically refresh when changes are made.
- Browser Cache: Browsers store cached versions of web pages to reduce load times, which can sometimes display outdated content.
Step 1: Clearing Browser Cache to Refresh the Page
Often, the simplest solution is to clear your browser cache. This forces the browser to fetch the latest version of your site.
- Google Chrome: Click on the three dots in the upper right corner. Go to More tools > Clear browsing data. Select Cached images and files and click Clear data.
- Mozilla Firefox: Click on the three lines in the upper right corner. Go to Options > Privacy & Security. Under Cookies and Site Data, click Clear Data and select Cached Web Content.
- Microsoft Edge: Click on the three dots in the upper right corner. Go to Settings > Privacy, search, and services. Under Clear browsing data, click Choose what to clear and select Cached images and files.
Step 2: Clearing WordPress Cache If Using a Cache Plugin
If clearing your browser cache doesn’t resolve the issue, you may need to clear your WordPress cache.
- WP Rocket: Access the WordPress dashboard, hover over the WP Rocket option in the top admin bar, and select Clear Cache (same applies to most of the Caching Plugins).
- WP Super Cache: Navigate to Settings > WP Super Cache. Under the Easy tab, click on Delete Cache.
- W3 Total Cache: Go to Performance > Dashboard. Click on empty all caches.
- WP Fastest Cache: Go to WP Fastest Cache from your WordPress dashboard. Click on Delete Cache.
Caching issues can be frustrating but are generally easy to resolve with these steps. By ensuring both your browser and WordPress caches are cleared, you can ensure that visitors see the most up-to-date version of your site.
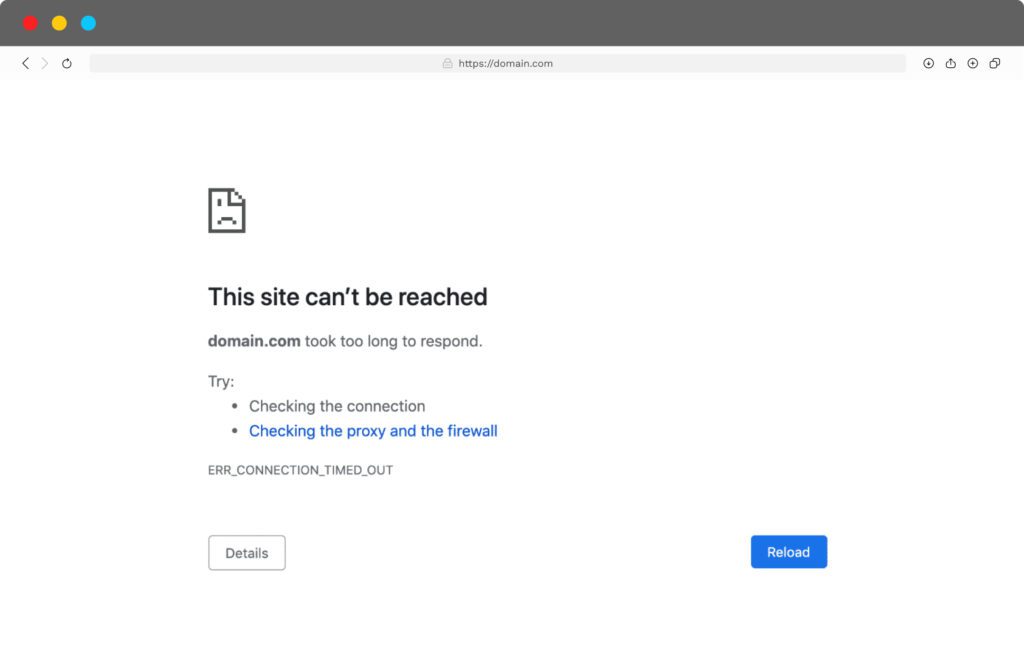
Connection Timed Out
Experiencing a “Connection Timed Out” error can be frustrating for WordPress users. This issue occurs when a request to the server takes too long to complete, leading to a timeout. Understanding and addressing this problem is essential for maintaining website performance and user satisfaction.
Common Causes of Connection Timeouts in WordPress
Several factors can lead to connection timeouts:
- Low PHP Memory Limits: Insufficient memory allocation can prevent scripts from running efficiently.
- Conflicting Plugins/Themes: Incompatible or poorly coded plugins and themes can cause delays.
- Server Congestion: Overloaded servers may struggle to process requests promptly.
Step 1: Increasing PHP Memory Limit
Increasing the PHP memory limit is often the first step in resolving connection timeout issues. Follow these steps:
- Access Your
wp-config.phpFile: Use an FTP client or your hosting provider’s file manager to locate thewp-config.phpfile in the root directory of your WordPress installation. - Edit the
wp-config.phpFile: Open the file in a text editor and add the following line before the statement that reads “That’s all, stop editing! Happy blogging.”:php define('WP_MEMORY_LIMIT', '256M');And that’s it, this change increases the memory limit to 256MB.
- Save and Upload: Save the changes and upload the modified
wp-config.phpfile back to your server. - Check Your Site: Refresh your website to see if the connection timeout issue is resolved.
Additional Solutions
If increasing the PHP memory limit does not resolve the problem, consider these additional solutions:
- Deactivate All Plugins: Access your WordPress dashboard, navigate to Plugins > Installed Plugins, and deactivate all plugins. Reactivate them one by one to identify any conflicting plugin causing the issue.
- Switch to a Default Theme: Temporarily switch to a default WordPress theme (e.g., Twenty Twenty-One) by navigating to Appearance > Themes in your dashboard. Check if this resolves the timeout error, indicating that your current theme might be causing conflicts.
- Optimize Server Performance: Contact your hosting provider to check for any server congestion or performance issues. Consider upgrading your hosting plan if necessary for better resource allocation.
Addressing connection timeouts promptly ensures smooth functionality for both you and your website visitors. By understanding common causes and implementing these solutions, you can maintain optimal performance for your WordPress site.
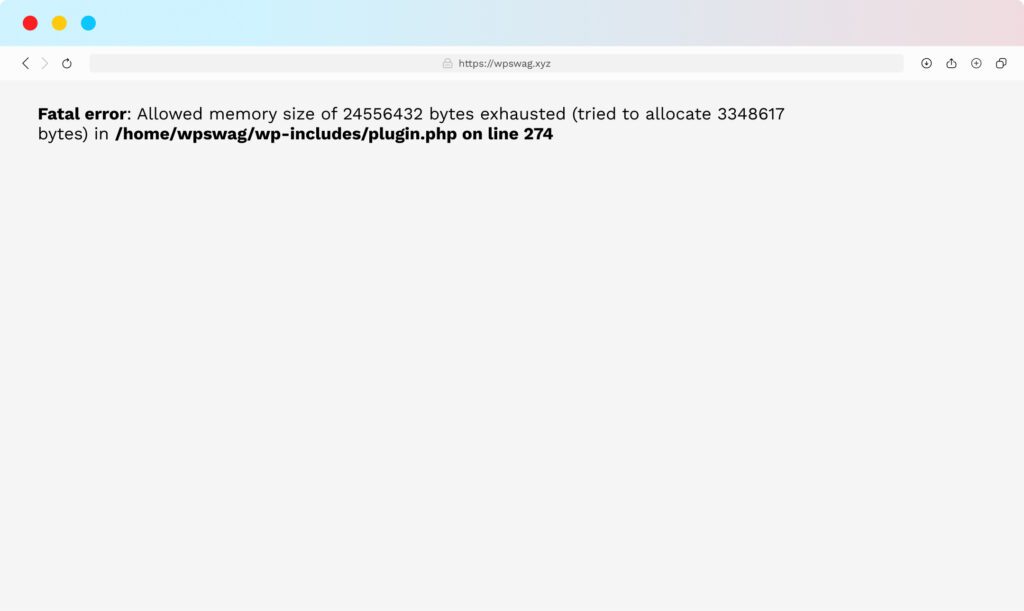
Allowed Memory Size Exhausted Error
The “Allowed Memory Size Exhausted Error” usually occurs when a WordPress script or process exceeds the maximum memory allocation set by your server. This limit acts as a threshold, beyond which WordPress cannot execute further operations, resulting in an abrupt halt and displaying the error message.
Common Causes of Allowed Memory Size Exhausted Error
Several factors contribute to this error:
- Poorly Optimized Plugins/Themes: Certain plugins and themes may not be properly optimized, leading to excessive memory consumption.
- Large File Uploads: Uploading substantial files can quickly deplete the allocated memory.
- Inadequate PHP Memory Limits: The default PHP memory limit may be too low for your website’s requirements.
Identifying and Resolving the Issue
Here’s how you can troubleshoot and resolve the “Allowed Memory Size Exhausted Error”:
Step 1: Increasing PHP Memory Limit
- Edit wp-config.php File: Access your website’s root directory using an FTP client or via your hosting provider’s file manager. Open the
wp-config.phpfile. Add the following line before the line that says/* That's all, stop editing! Happy blogging. */:php define ('WP_MEMORY_LIMIT', '256M');Now, save the changes and upload the modified file back to your server.
- Modify .htaccess File: Navigate to your website’s root directory. Open or create a
.htaccessfile. Add this line to increase memory limit:apache php_value memory_limit 256M
Save and upload the file back to your server.
- Edit php.ini File (if accessible): Locate the
php.inifile in your server. Add or modify this line:ini memory_limit = 256M
Save changes and restart your web server if necessary.
For detailed instructions, refer to the official WordPress documentation on modifying wp-config.php which provides insights into addressing memory limit issues.
Step 2: Deactivating Problematic Plugins/Themes
- Log in to your WordPress admin dashboard.
- Go to Plugins > Installed Plugins.
- Deactivate all plugins and check if the error persists. If it resolves, reactivate plugins one by one to identify the culprit.
- Switch your theme to a default WordPress theme (e.g., Twenty Twenty-One) under Appearance > Themes to determine if the issue is theme-related.
Step 3: Reducing Large File Uploads
- If you frequently deal with large file uploads, consider using third-party storage solutions like Amazon S3 or Google Cloud Storage.
- Alternatively, compress files before uploading them to reduce the size.
Step 4: Optimizing Database
- Regularly optimize your database using tools like phpMyAdmin or plugins like WP-Optimize.
- Remove unnecessary data such as old revisions, trashed posts, spam comments, and unused plugins.
- Consider using a caching plugin like WP Rocket or LiteSpeed Cache to improve your website’s performance and reduce the load on your server.
Step 5: Upgrade Hosting Plan
- If you have tried all the above steps and are still experiencing memory limit errors, it might be time to upgrade your hosting plan to one with higher memory allocation.
- Contact your hosting provider for assistance with this process.
By following these steps, you can effectively address and resolve memory limit issues in WordPress, ensuring smooth functioning of your website.
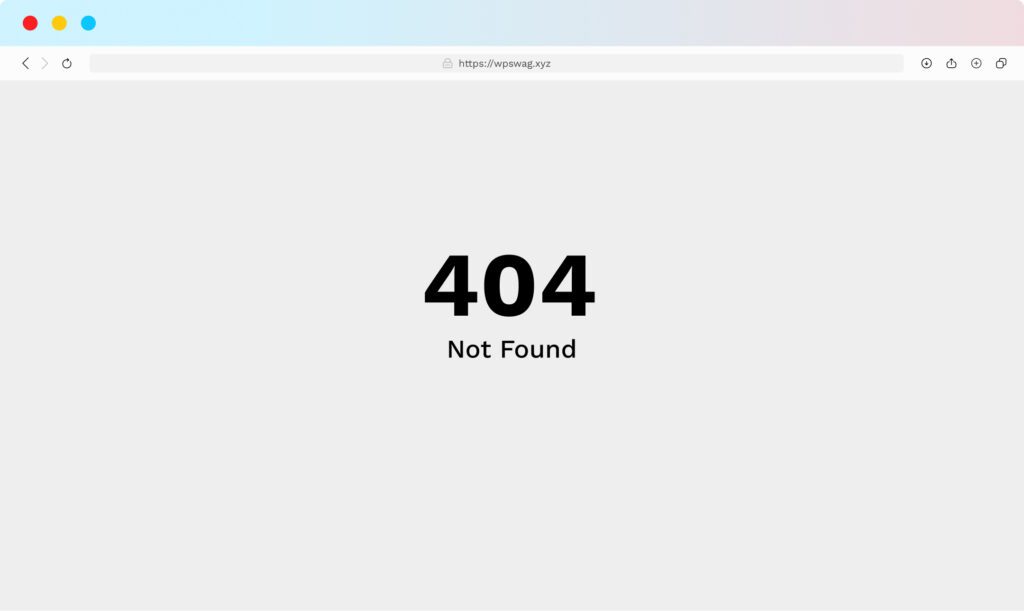
WordPress 404 Error
A WordPress 404 Error occurs when a visitor attempts to access a page that cannot be found on the server. This typically results in a “404 Not Found” message, which can disrupt user experience and impact SEO.
Common Causes of WordPress 404 Error
- Permalink Settings Issue: Misconfigured permalink settings are among the most common causes. If the URL structure doesn’t match the actual paths on the server, WordPress cannot locate the requested content.
- Deleted or Moved Content: Pages or posts that have been deleted or moved without proper redirection will lead to a 404 error.
- Incorrect .htaccess File: An improperly configured
.htaccessfile can interfere with how URLs are processed.
Troubleshooting Steps
Step 1: Reconfigure Permalink Settings
- Navigate to Settings > Permalinks in your WordPress dashboard.
- Select a different permalink structure (e.g., change from “Post name” to “Plain”), then click Save Changes.
- Revert back to your preferred permalink structure and click Save Changes again. This refreshes the permalink settings.
This method often resolves permalink-related issues by resetting the URL structure.
Step 2: Check for Deleted or Moved Content
- Verify that the page or post in question exists in your WordPress dashboard under Posts or Pages.
- If it’s been deleted, restore it from the Trash, if available.
- For moved content, ensure proper redirections are set up using a plugin like Redirection to avoid broken links.
Step 3: Edit .htaccess File
- Access your site files via FTP or your hosting provider’s file manager.
- Locate and download the
.htaccessfile, usually found in the root directory of your WordPress installation. - Open
.htaccesswith a text editor and ensure it contains the default WordPress rewrite rules# BEGIN WordPress RewriteEngine On RewriteRule .* - [E=HTTP_AUTHORIZATION:%{HTTP:Authorization}] RewriteBase / RewriteRule ^index\.php$ - [L] RewriteCond %{REQUEST_FILENAME} !-f RewriteCond %{REQUEST_FILENAME} !-d RewriteRule . /index.php [L] # END WordPress - If any other rules are present, make sure they don’t interfere with the default WordPress rules. If needed, consult your hosting provider or a developer for assistance.
- Confirm that any caching plugins (like WP Rocket) are cleared after making changes to permalinks or content locations.
Step 4: Clear Cache
- Clear any caching plugins or server-side caches you’re using. Cached versions of your site may be displaying outdated URLs.
Step 5: Test Links
- Visit your site and test the links that were previously showing 404 errors. They should now be working correctly. If any issues persist, further investigation may be necessary.
- Utilize tools like Google Search Console to identify ongoing 404 errors and address them promptly.
By following these troubleshooting steps, you can resolve common issues related to 404 errors on your WordPress site. Understanding these steps ensures smoother navigation for users and helps maintain site integrity across various updates and changes.
Syntax Error
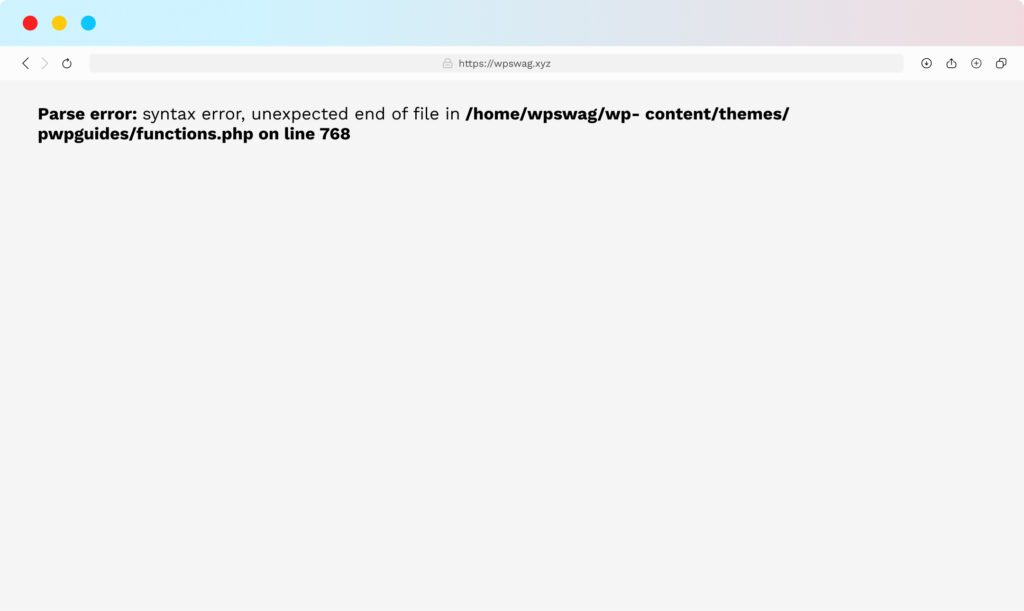
Syntax errors in WordPress often occur when there is a mistake in the PHP code structure. These errors disrupt the normal execution of scripts and can bring your website to a halt, displaying a message like “Parse error: syntax error, unexpected…” or a blank screen.
Common Causes of Syntax Errors
Understanding what leads to these issues can help prevent them:
- Manual Code Modifications: Errors frequently arise when users manually edit theme or plugin files through the WordPress editor or by accessing files via FTP. A missing semicolon, an extra bracket, or an incorrect function name can all trigger syntax errors.
- Compatibility Issues: Sometimes, code snippets found online may not be compatible with your WordPress version or other installed plugins/themes. This incompatibility can lead to syntax errors when the code is executed.
Identifying and Fixing Syntax Errors
To resolve syntax errors effectively:
Step 1: Locate the Error
The error message usually provides specifics about the file and line number where the issue occurred. For instance:
Parse error: syntax error, unexpected '}' in /public_html/wp-content/themes/your-theme/functions.php on line 45
This message indicates there’s an issue in functions.php at line 45.
Step 2: Correcting the Code
Access the file using either the WordPress file editor or an FTP client like FileZilla:
- Open the problematic file as indicated by the error message.
- Navigate to the specified line number and look for common syntax mistakes:
- Missing or extra parentheses
() - Unmatched curly braces
{}or square brackets[] - Missing semicolons
;at the end of statements - Incorrect variable names or function calls
Example Fix
Here’s an example of correcting a common mistake:
- Before: php if ( $condition { echo “This is a test.”; }
- After: php if ( $condition ) { echo “This is a test.”; }
After making corrections, save the file and refresh your website to check if the error has been resolved.
Preventing Future Syntax Errors
To minimize future issues:
- Use Development Environments: Make changes in a staging environment before applying them to your live site.
- Leverage Syntax Checking Tools: Utilize integrated development environments (IDEs) like Visual Studio Code or PHPStorm that offer real-time syntax checking.
- Backup Regularly: Always create backups before modifying core files. This allows you to revert to a previous state if something goes wrong.
Syntax errors can be daunting, but with careful attention to detail and proper tools, they are manageable. Understanding the common causes ensures you’re better prepared to avoid these disruptions in your WordPress journey.
403 Forbidden Error in WordPress
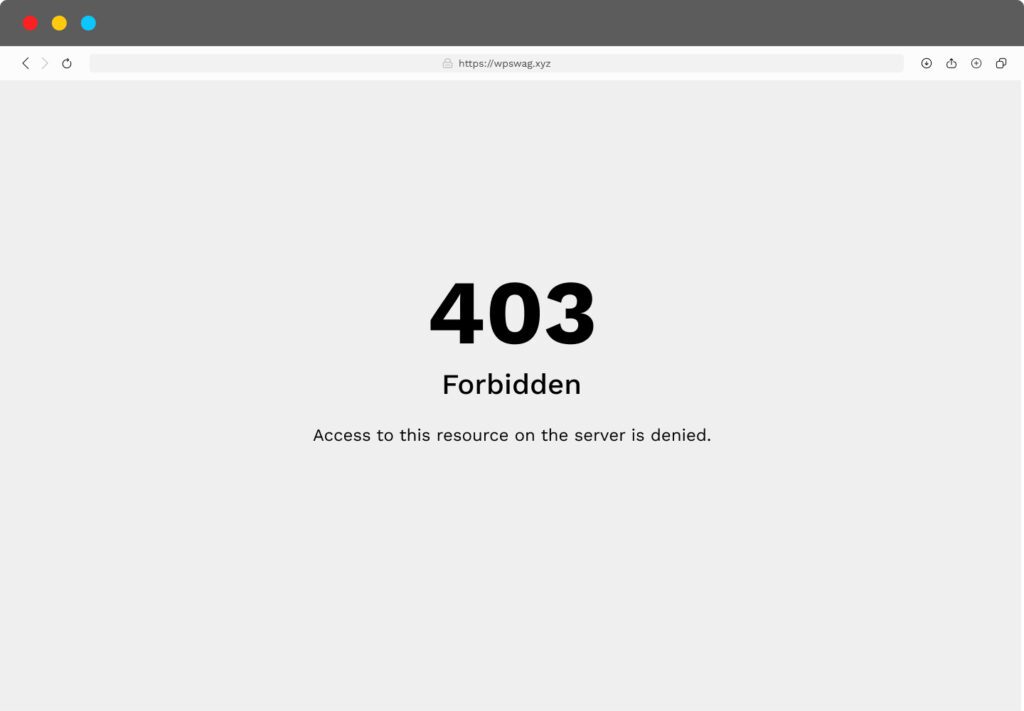
Encountering a 403 Forbidden Error means your server permissions are restricting access. This can be frustrating as it restricts both the site’s visitors and administrators from accessing certain areas. Common causes include:
- Corrupted .htaccess File
- Security Plugins
Here are some steps to troubleshoot and resolve this issue:
- Check File Permissions: Ensure that your WordPress files have the correct permissions. Typically, folders should be set to 755 and files to 644.
- Review .htaccess File: Misconfigurations in the .htaccess file can lead to 403 errors. Rename the file temporarily to see if the error is resolved.
- Deactivate Plugins: Sometimes, security plugins can block access to certain pages. Deactivate all plugins and reactivate them one by one to identify the culprit.
- Check Server Configuration: Incorrect server configuration settings can cause a 403 error. Review your server settings or consult with your hosting provider for assistance.
- IP Denial Rules: If you’ve recently added any IP denial rules in your web server’s configuration, make sure they are not overly restrictive.
- Contact Your Hosting Provider: If none of these steps work, it’s advisable to contact your hosting provider for further diagnosis and resolution.
By addressing these points, you can resolve the 403 Forbidden Error and restore full access to your WordPress site.
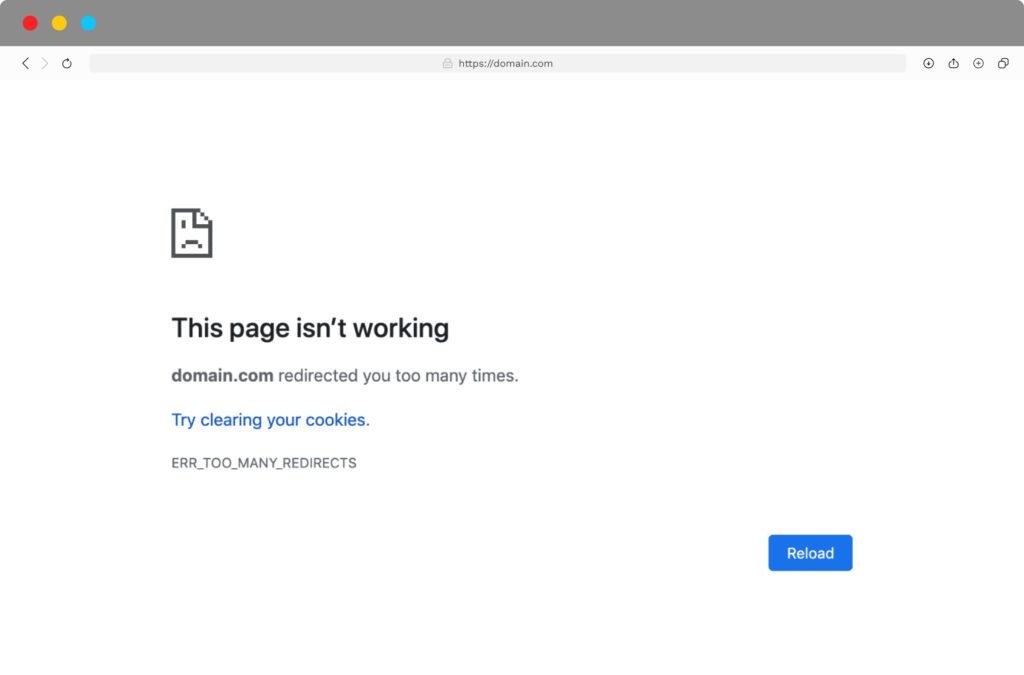
Too Many Redirects Error
This error occurs when there is an infinite loop of redirects, usually caused by misconfigurations in your website’s settings or plugins.
To troubleshoot this issue, you can:
- Check Your URLs: Ensure that your WordPress Address (URL) and Site Address (URL) in the Settings > General section are correct and consistent.
- Disable Plugins: Temporarily deactivate all plugins and check if the error persists. If not, reactivate them one by one to identify the problematic plugin.
- Inspect .htaccess File: Incorrect directives in the .htaccess file can cause redirect loops. You can temporarily rename it to see if that resolves the issue.
- Contact Your Hosting Provider or Developer: If none of these solutions work, reach out to your hosting provider or developer for further assistance.
By following these steps, you can effectively diagnose and resolve the “Too Many Redirects” error, ensuring a smooth user experience on your WordPress site.
Final Thoughts
Approaching WordPress errors and issues with confidence is essential. Equipped with the knowledge and troubleshooting steps shared in this guide, website owners can effectively address common problems, ensuring smooth website functionality and performance. Here are some key takeaways to keep your WordPress site running efficiently:
- Regular Backups: Regularly backing up your website is crucial. It provides a safety net, allowing you to restore your site quickly if anything goes wrong.
- Keep Themes and Plugins Updated: Outdated themes and plugins are a common source of errors. Ensure everything is up-to-date to minimize compatibility issues and enhance security.
- Professional Monitoring Services: Utilizing professional WordPress monitoring and maintenance services can provide ongoing site health management. These services can detect issues before they escalate, offering peace of mind.
By proactively maintaining your website, you can prevent many common issues from arising. Troubleshooting should no longer feel overwhelming, as you now have a structured approach to diagnosing and resolving problems efficiently.
Key Actions:
- Schedule regular backups.
- Update themes and plugins promptly.
- Consider professional monitoring for added security.
For comprehensive support, explore additional resources or contact us today to get help with your sites along with maintenance, backups, security, etc.